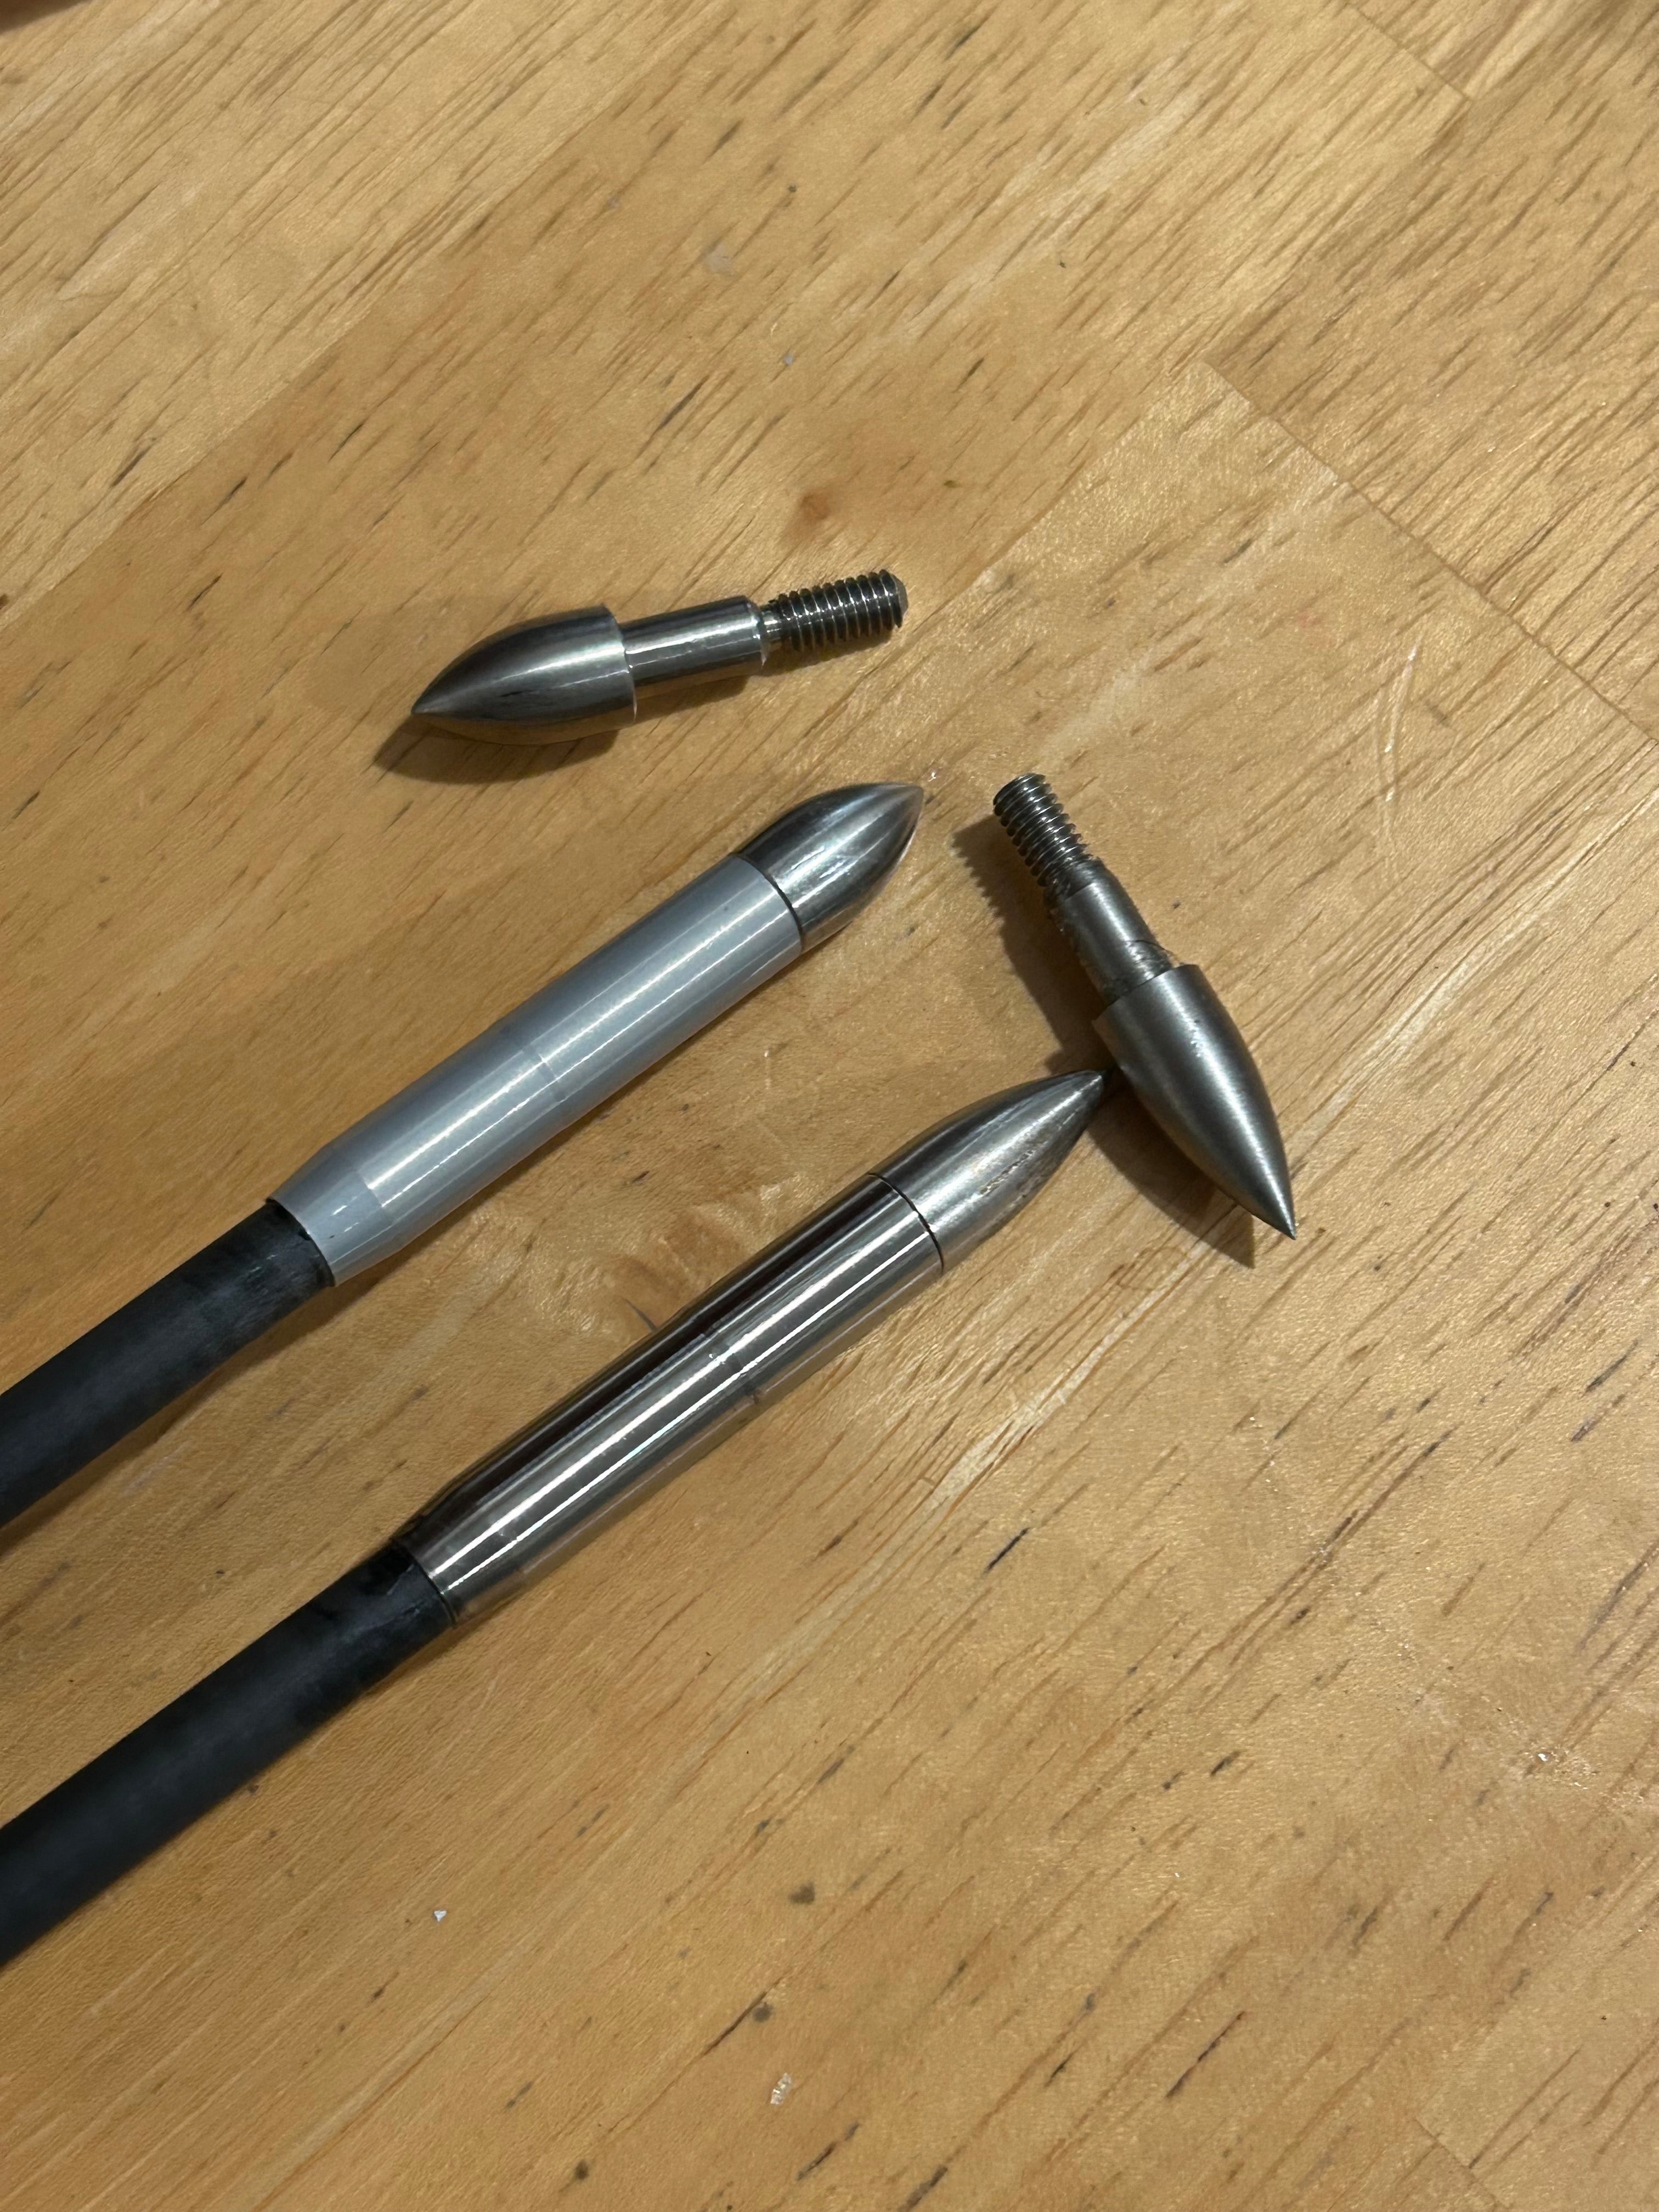
An arrow can only perform so long as the components stay attached. Proper glue selection and process control are the keys to success.
Step 1: Clean with Isopropyl Alcohol
Begin by cleaning both the arrow shaft and the component with isopropyl alcohol. This will remove any dirt or residue that could affect the adhesion of the glue as well as any cutting oils remaining from the machining process. Allow the surfaces to dry completely before proceeding to the next step.
Step 2: Apply Glue
Next, apply a thin layer of glue to the outside of the shaft and to the inside of the component. Be sure to use a high-quality adhesive such as a toughened cyanoacrylate or two-part epoxy.
Step 3: Slide and Rotate
Slide the component over the shaft while rotating it gently. This will help to evenly distribute the glue and ensure proper coverage along the entire connection point. Take your time with this step to avoid any air bubbles or gaps.
Step 4: Allow to Cure
Once the component is in place, allow the glue to per the manufacturer's recommendations. If you do not know how long to wait, allowing the adhesive to cure overnight is a safe bet. This extended curing time will give the adhesive ample opportunity to fully bond the shaft and the component together, creating a secure and durable connection.
What is the best glue?
When selecting an adhesive you have two main options. Two part epoxies are readily available and can work very well. For best results select a slower curing and more flexible option such as Hardmans Oranges Toughened Epoxy The other option is a toughened cyanoacrylate. These are a type of super glue specifically designed to resist cracking under impact and typically have added resistance to heat and moisture. These industrial grade super glues are a level above what is found at your hardware stores and supermarkets.
Share:
The Ultimate Guide to Arrow Fletching: Best Options, Helical Angles, and Fletching Tips